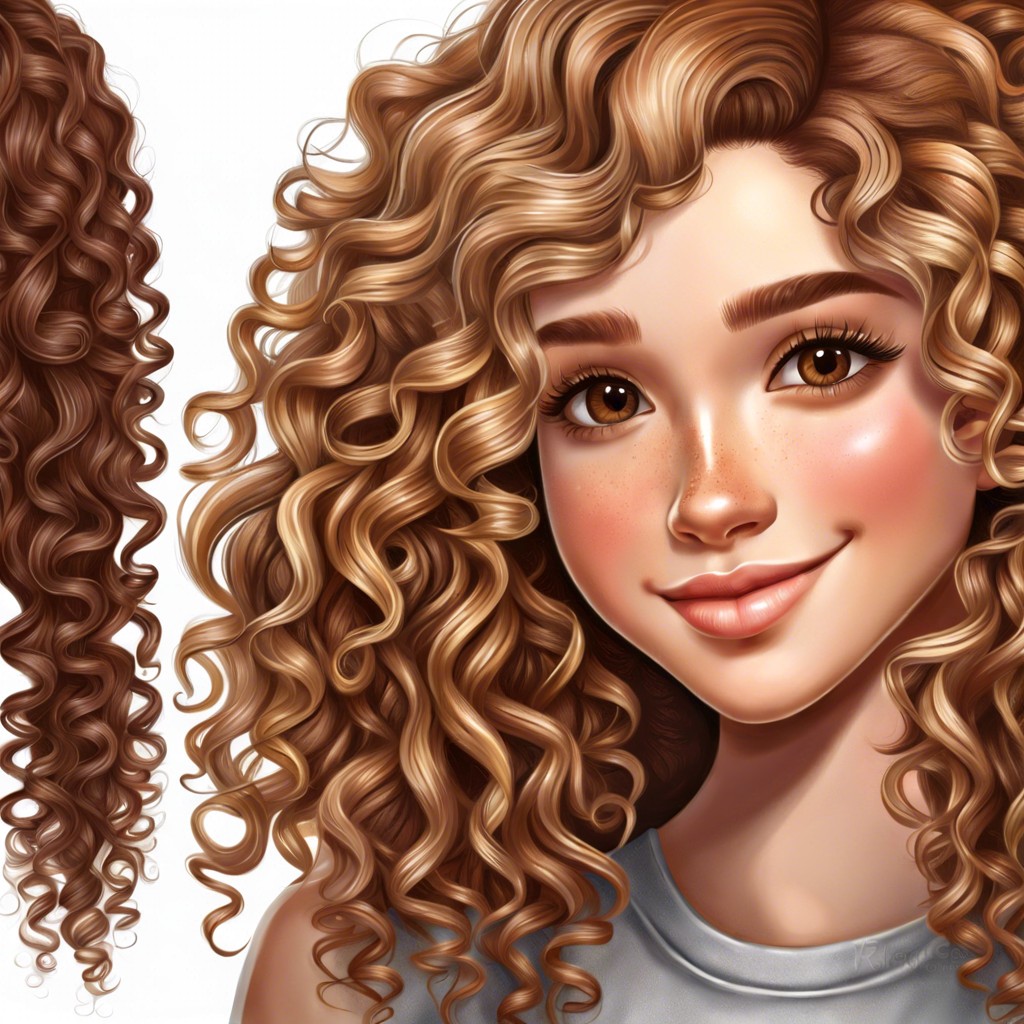
Discover techniques for realistically sketching curly hair, from capturing volume to defining individual curls.
Start With Basic Head Shape

A solid foundation is essential; begin by outlining the cranium and jawline. This shape serves as a guide for where curls will fall around the face. Proportions are key; ensure the head dimensions are correct before progressing.
Sketch Loose S-shaped Curls

Begin by lightly drafting S-shapes throughout the scalp area to form the foundation of your curls. These shapes act as a guide, capturing the flow and movement characteristic of curly hair. Ensure that the S-curves vary in size to mimic the natural diversity of curls.
Add Volume With Springy Spirals

Springy spirals give the impression of bouncy curls that lift off the page. They break up the uniformity of the hair, introducing a dynamic twist. Skillfully placed, these spirals can make the hairstyle appear fuller and more voluminous.
Vary Curl Size and Direction

Diverse curl dimensions add realism to the hair, reflecting how natural curls vary in size. Changing the direction of each curl creates a more dynamic and lively look, avoiding a monotonous pattern. Interweaving different curl patterns contributes to the overall complexity and volume of the hairstyle illustration.
Layer Curls for Depth

Position curls at varying distances to simulate depth, avoiding a flat, two-dimensional appearance. Intertwine strands at different layers to give the illusion of natural, voluminous hair. Manifest a richer, more dynamic hairstyle by layering curls over and beneath one another.
Outline Curls With a Light Touch

Trace the edges of each curl with a delicate stroke to avoid heavy lines that can weigh down the drawing. This technique gives the impression of softness and buoyancy in the hair. Avoid pressing too hard with your pencil to keep the curls lively and dynamic.
Use Shadows to Define Curls

Shadows cast within the curls establish depth, making them pop off the page. Strategic placement around the underside and within the curves accentuates the hair’s volume. This enhances the three-dimensional effect, bringing the curls to life.
Highlight Areas Where Light Hits

Accentuate the hair’s luster by pinpointing where light naturally illuminates the curls. These highlighted sections will add dimension and life to the drawing. Carefully placed light reflections contribute to the overall realism of curly hair.
Blend for a Soft Texture

Blending smooths the transition between curls, giving the illusion of softness to the hair. This technique diffuses harsh lines, creating a realistic and touchable appearance. It ensures hair doesn’t look flat or one-dimensional on paper.
Use Hatching for Tight Curls

Hatching adds texture to tight curls by creating a pattern of parallel lines. This technique builds up the density of the hair, making each curl stand out. Adjusting the spacing between the lines can suggest how tight or loose a curl is.
Draw Ringlets Hanging Down

Ringlets add dynamism to the hair’s portrayal, illustrating the way gravity affects curly strands. Depicting them as spiraling downward conveys a sense of movement and fluidity. To capture their essence, focus on the distinct coil shape and how they interact with surrounding curls.
Suggest Frizz With Fine Lines

Incorporate fine, erratic lines to mimic natural frizz, adding authenticity to your drawing. Scatter these lightly around the edges of curls to convey texture. This technique portrays the wild, untamed aspects of curly hair.
Create a Sketchy Edge for Realism

Sketchy edges mimic natural hair’s uneven texture. They break up the uniformity, adding a touch of randomness. This technique softens the transition between hair and background, enhancing the drawing’s lifelike quality.
Refine With an Eraser for Highlights

Gently erase along the curve of each curl to add shine where the light naturally hits. This technique gives the hair a three-dimensional quality, enhancing its lifelike appearance. Strategically placed highlights can turn flat curls into bouncy, voluminous locks.
Finish With Flyaway Hairs

Flyaway hairs add an authentic touch, simulating those unruly strands that naturally escape any hairstyle. They inject a sense of movement and life into your drawing, breaking the uniformity of the curls. This final detail bridges the gap between a flat representation and the dynamic texture of actual curly hair.